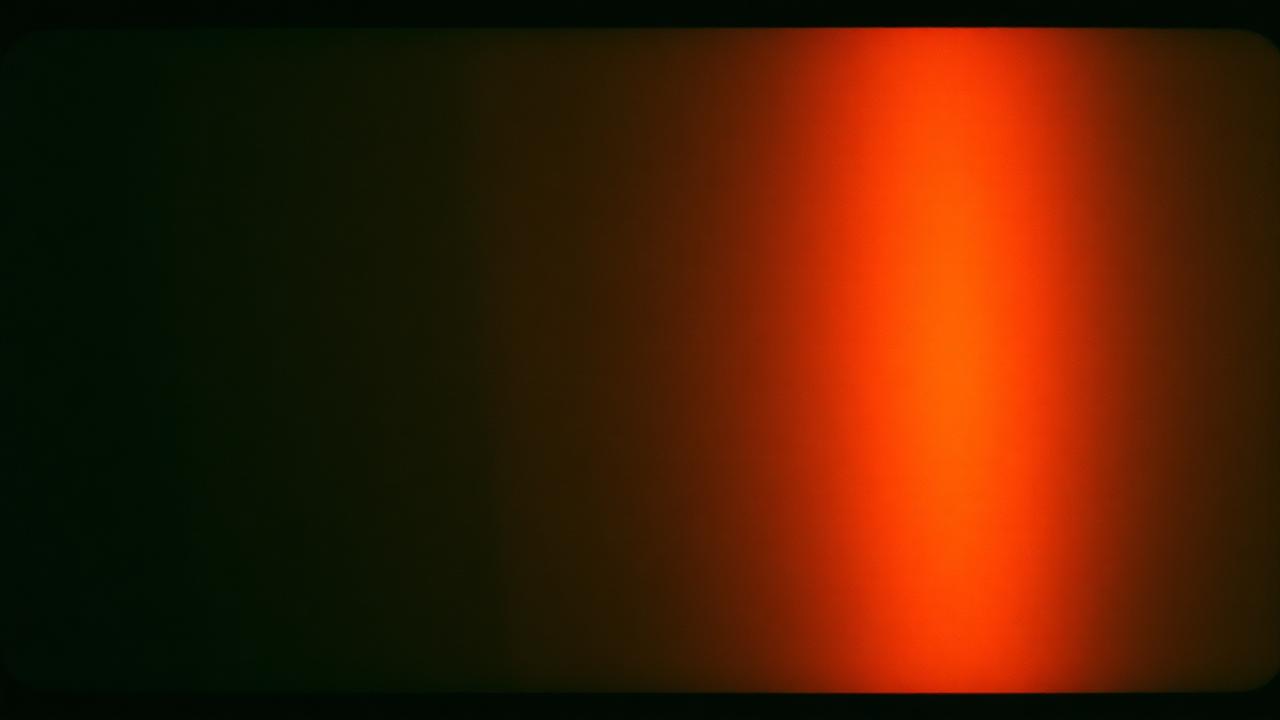
Two effects ruin more "film-look" photos than any other: grain that looks like sensor noise, and light leaks that look like PNG stickers pasted on top. Both come from the same mistake — treating the effect as a layer instead of a property of the image. Real grain and real leaks are physical things that happen inside a camera; digital versions only convince the eye when they respect that physics.
Why digital grain usually looks wrong
Film grain is a chemical structure. It sits inside the image, varies with exposure (more grain in the shadows, less in the highlights) and is roughly the same size across the frame. Most digital "grain" filters dump uniform noise over every pixel, which reads as a broken camera, not a film stock. If the grain is identical in a blown-out sky and in a deep shadow, the brain flags it immediately as fake, even without being able to say why.
A grain pass that holds up has three properties:
- Coarser in shadows than in highlights. Shadow noise is where real film shows its structure.
- Slightly desaturated relative to the underlying image. Silver-halide grain is monochromatic; coloured noise reads as digital.
- The same physical size everywhere — not finer in the corners than the centre. If you scale the image, scale the grain with it.
Grain intensity by film speed
If you want to reference a specific film stock, match the grain intensity to its ISO:
- ISO 100 to 200 (Portra 160, Ektar 100) — grain barely visible at web size. 2 to 4% intensity.
- ISO 400 (Portra 400, Kodak Gold) — visible grain in shadows only. 5 to 8%.
- ISO 800 and up (Portra 800, Cinestill 800T) — grain visible across the frame. 10 to 15%.
- ISO 1600 to 3200 (pushed film) — grain becomes a texture in its own right. 15 to 25%.
Why light leaks usually look like stickers
Real light leaks are warm, soft-edged and biased toward one corner of the frame, because they enter through a specific gap in the camera body — usually where the film door seal has aged. Digital leaks that paste a magenta blob in the middle of the image are the wrong shape and the wrong colour temperature.
A believable leak is orange-to-red, hugs an edge or a corner, and softens the contrast in the area it touches. It should not punch through dark shadows — if the leak is brighter than the rest of the photo, it is too strong. Real leaks lift the shadows to a milky warm tone; they do not sit on top of them.
Leak colour temperature
Light that fogs film is almost always broad-spectrum daylight or tungsten leaking through a physical gap, so it lands somewhere between 2000K (candle warm) and 5500K (daylight). It is never green, never blue, never purple. If a filter offers you a purple leak, it is stylised — fine for a look, but do not call it "film-accurate".
Stack effects in the right order
Apply the film look first (colour curves, white balance shift), then grain, then any leak, then export. If you grain before the colour shift, the grain itself gets recoloured. If you add the leak before grain, the leak ends up smoother than the rest of the photo and immediately reads as fake — the grain across the whole frame is what unifies the leak with the image beneath it.
One effect, not three
The strongest film looks pick a coherent set: warm white balance, soft contrast, fine grain, gentle vignette. Adding a leak on top of all of that is one effect too many. Pick three at most. A clean Portra-style frame with a small leak in the top-right reads as film. The same frame with grain, a leak, a frame border and a date stamp reads as an Instagram preset from 2014.
When the photo does not need it
A well-lit portrait with good colour does not need a leak. Effects are best at rescuing flat photos — overcast outdoor shots, dim indoor frames — not at decorating already-good ones. If you find yourself stacking three effects to "save" a frame, the fix is usually to reshoot in better light. See our lighting guide for how to get the source frame closer to right before any effects touch it.
Quick checklist
- Grain: coarser in shadows, monochromatic, same size across the frame.
- Match grain intensity to the ISO you are referencing.
- Leak: warm (orange-to-red), soft-edged, hugs a corner or edge.
- Leak should lift shadows, not overpower them.
- Apply order: colour → grain → leak → export.
- Maximum three effects per frame.
Frequently asked questions
Why does my grain disappear when I upload to Instagram?
Instagram re-encodes uploads aggressively and fine detail is the first thing to go. Export at 1080 px on the short edge and slightly overshoot the grain intensity (add 20 to 30%) so enough survives the re-encode.
Should grain be applied before or after cropping?
After. Grain applied before a crop gets rescaled with the image and stops being uniform size — which is one of the tells that gives away digital grain.
Can I use the same leak PNG on every photo?
Only if you want the set to obviously look like a preset. Real leaks vary frame to frame because the gap in the camera body catches light differently depending on angle. Rotate, flip and vary the opacity of any reused leak asset.
What about grain on black and white photos?
Push it further — 10 to 15% for a Tri-X look, 20% for pushed HP5. Black and white forgives heavier grain because there is no colour information to fight with it.
Do phone cameras have real grain?
No — they have sensor noise, which looks different (coloured speckle, worse in low light). Modern phones aggressively denoise, so any "grain" you see on a phone photo is usually a filter added afterwards.
Further reading
- Choosing a film look — how to pick the underlying palette before you add grain.
- Lighting for vintage photos — the source frame matters more than any effect stacked on top.