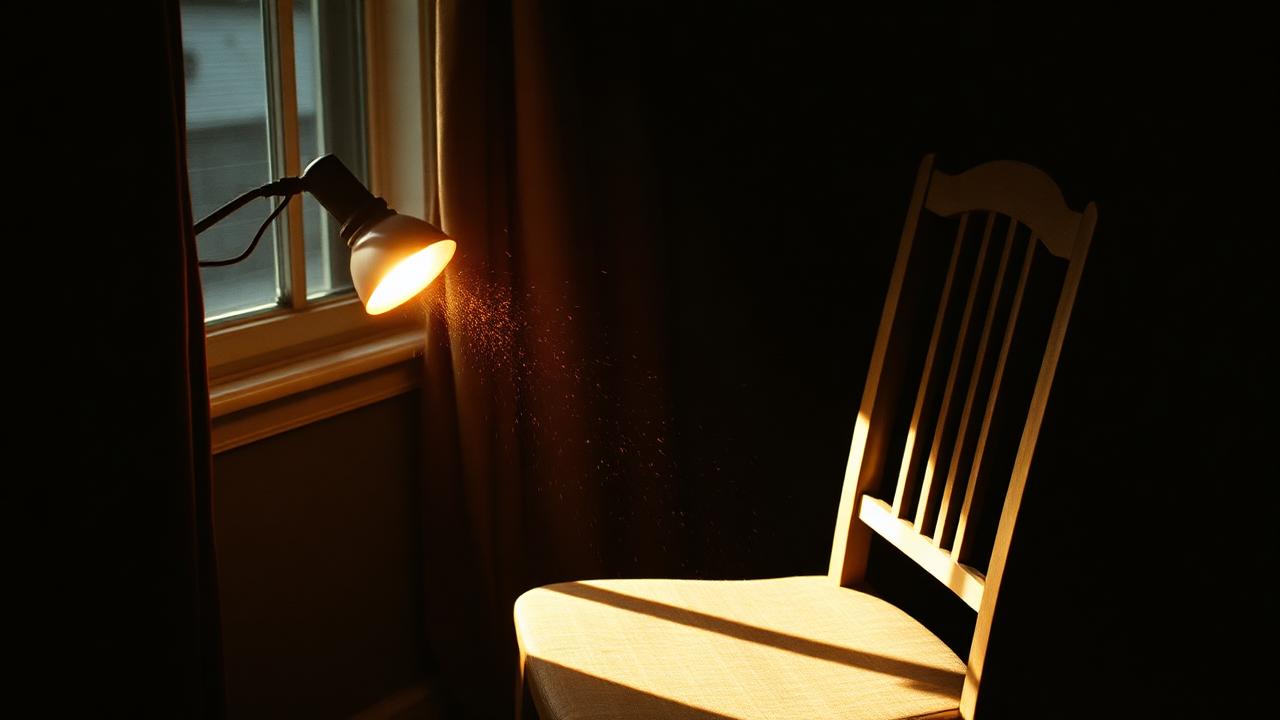
Most "vintage" looks live or die in the light, not in the filter. A modern phone shot under flat office fluorescents will never look like film, no matter how much grain you stack on top. Conversely, a webcam shot in soft window light at golden hour already looks halfway there before any filter is applied.
This guide is about what actually defines vintage-looking light and how to recreate it without buying anything. Everything below assumes a laptop or a phone, one room, and the lights you already own — no softboxes, no reflectors, no ring light.
What vintage light looks like
Three things show up repeatedly in old photographs:
- One dominant direction. Older lenses and slower film couldn't expose for a face lit from twelve directions at once. There is usually one main light and a soft shadow falling away from it.
- Warm colour temperature. Tungsten bulbs, candles, and afternoon sun all push light toward orange. Daylight-balanced LEDs push it toward blue, which is the most obvious giveaway of a modern interior.
- Slight underexposure. Film holds highlights well but loses shadows quickly. The dark areas of a vintage frame are genuinely dark, not lifted by HDR.
Find the one dominant light
Whatever room you are in, walk around and find the brightest single light source. During the day, that is almost always a window. At night, it is usually one lamp. The cheapest upgrade to your photo is to turn off every other light in the room.
Then sit so that light is roughly 45 degrees off to one side of your face, not directly in front of you and not directly above. That angle creates a soft shadow on the opposite cheek — the shape that makes a face look three-dimensional instead of pancake-flat. Overhead light does the opposite: it drops shadows into the eye sockets and under the nose, which looks tired even on a well-rested face.
Warm up the temperature without filters
If you have a warm-white bulb (typically labelled 2700K), use it. If you only have daylight-balanced bulbs (4000K and up), bounce them off a warm-coloured surface — a wooden wall, a cream curtain, a kraft-paper-coloured book cover — to pick up some of that warmth before the light reaches your face.
A surprisingly effective trick: put a sheet of plain printer paper over your phone's flashlight and aim it at the wall behind your laptop. You get a soft, slightly warm fill light at zero cost. If you have a candle, a candle behind or beside the lens gives the same colour cast that vintage film shot indoors always has — you are physically recreating tungsten light, not simulating it.
Watch the white balance trap
Modern cameras and webcams aggressively auto-correct white balance, which tries to neutralize the warmth you just spent effort creating. There are two ways around this in a browser photobooth:
- Include a small patch of pure white in the frame (a card, a wall). The camera will lock its white balance to that and stop chasing your skin tone.
- Pick a filter that re-introduces warmth after the camera neutralizes it. Many of the Fuji- and Kodak-style looks in FLASHFRAME do exactly this.
Soft, not harsh
Vintage portraits rarely have hard, sharp-edged shadows. Direct mid-day sun through a window will give you a hard shadow on the wall behind you that ages the photo in the wrong way — it screams "harsh 2020s phone flash", not "1970s living room". Hang a thin white curtain or a bed sheet across the window. The sheet diffuses the light and turns it into a soft, even glow.
A lamp shade does the same job at night. If you have a bare bulb, drape a t-shirt over a chair near it (not on the bulb — heat) and bounce the light off the t-shirt onto your face. The rule is: the larger the effective light source relative to your face, the softer the shadow. A bare bulb is small; a bulb bounced off a sheet is huge.
Underexpose on purpose
Most webcam apps and selfie apps push exposure up so faces look bright. The result is washed out skin and clipped highlights. If your camera has a manual exposure slider, drag it down a stop or two until your shadows actually look like shadows. The grain and contrast in a film filter then has darker tones to bite into, which is what makes the look land.
A quick test: look at the darkest part of the frame (usually the corner or under the desk). If it is grey, you are overexposed. If it is genuinely near-black, the exposure is where film would sit. This is counterintuitive on a screen — you spend all day maximising brightness in every other context.
Three practical setups
- Daytime window portrait. Curtain-diffused window 45 degrees off your face. Ceiling light off. Camera at eye level. Slightly underexposed.
- Evening warm lamp. One warm bulb on a side table aimed at a wall behind you. No overhead light. Phone-flash-through-paper as a soft fill on the other side.
- Candlelight or low light. Two or three candles in a cluster off to one side. Camera at the slowest shutter the webcam allows. Stay still during the countdown.
What to avoid
- Overhead LED panels — the most modern-looking light there is. They flatten the face and drop hard shadows in the wrong places.
- Direct sunlight on your face through an unfiltered window. Very high contrast, very hard shadows, and the eye squints.
- The RGB desk light in "warm" mode with the ceiling light also on. Two different colour temperatures fight, and every filter over the top will look off.
- A bright screen filling the frame behind you. The camera will expose for the screen and leave you in silhouette.
FAQ
Do warm-white smart bulbs work? Yes. Set them to 2700–3000K and dim them to about 40% brightness. The lower the brightness, the warmer many LED bulbs actually get, which helps.
Is golden hour worth waiting for? Yes, whenever possible. The hour after sunrise and before sunset is warm, low, and diffused for free. If you can time your shoot to it, do.
What about my phone's flash? Direct flash almost never looks vintage — it looks like a 2010s party photo. Bounce it off a wall or a piece of paper to soften and warm it before it reaches your face.
Can I fix bad lighting with a filter? Only slightly. Filters can shift colour and add grain, but they cannot invent shadows that were never there or repair blown-out highlights. Fix light first, filter after.
Further reading
- Cambridge in Colour's guides on colour temperature and white balance — clear, non-jargon explanations of why 2700K reads as "warm" and 5600K reads as "clinical".
- Kodak and Fujifilm publish datasheets for many discontinued film stocks that describe their colour response — useful reference when you are trying to mimic a specific era.
Once your light is right, almost any film filter starts working. Once it is wrong, no filter will save you. Spend two minutes adjusting the light before you spend twenty minutes scrolling through filters.