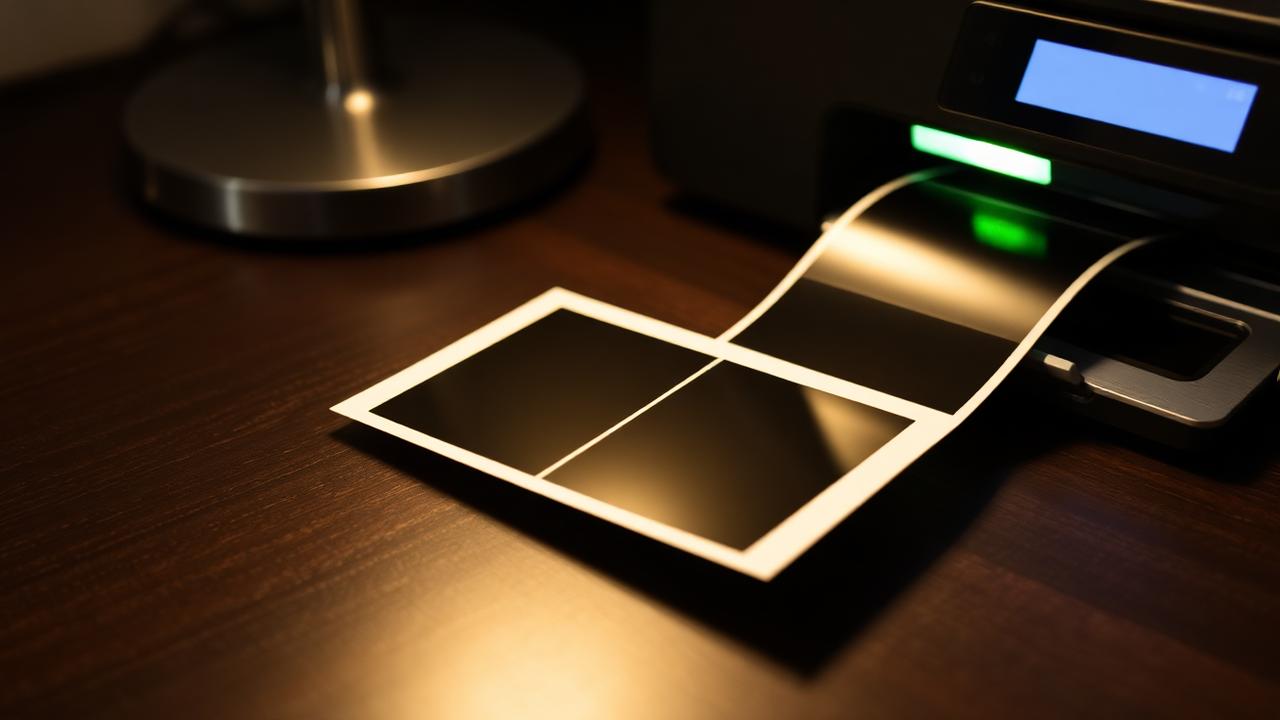
10×15 cm — sometimes labelled 4×6 inches — is the most widely supported photo paper in the world. Every drugstore one-hour lab, every supermarket kiosk, and every consumer photo printer accepts it. That makes it the safest size to design a strip for if you actually want to hold the photo in your hands rather than just scroll past it.
This guide walks through the few details that decide whether your printed strip looks crisp or muddy: pixel dimensions, orientation, colour space, bleed, and paper choice. None of it is complicated once you know which numbers to use, but every one of them is a place where a home printer or a kiosk can quietly ruin the file.
What 10×15 cm means in pixels
Photo labs print at 300 DPI (dots per inch). At that resolution, a 10×15 cm card needs about 1181×1772 pixels, and most labs prefer you go a bit larger to give them a margin. FLASHFRAME's Print Lab exports at 1200×1800 pixels for the portrait 10×15 export and 1800×1200 for landscape. Both land safely above the 300 DPI threshold, so the lab does not need to upscale.
If you ever try to print a 9:16 Instagram Story export on 10×15 paper, the lab will either crop the top and bottom or leave white bars. The aspect ratios do not match — 10×15 is 2:3, Stories are 9:16, and stretching one into the other always loses something. Always start from the print export, not from a story export.
Portrait or landscape
A classic photo strip is portrait — four square frames stacked vertically. That maps naturally to a 10×15 cm card in portrait orientation. If you shot a wider scene (two people side by side, an event group) and want to print a single big frame instead, the landscape export keeps the same paper size but rotates everything.
A useful habit: pick the orientation at export time, not at print time. Rotating in the printer driver tends to introduce a tiny resampling step that softens the file, and some lab kiosks silently rotate anything that does not match their preview orientation, which can crop your strip in a place you did not expect.
Colour space and file format
Photo labs assume sRGB. Browser exports are already sRGB, so there is nothing extra to do here — but if you ever pull the JPG into a desktop editor and convert it to Adobe RGB or ProPhoto RGB, the lab will print it with shifted colours (usually greens go dull and reds go orange). Keep the file in sRGB and export as JPG with quality 90 or higher. PNG is fine but wasteful at this size; labs will re-encode it to JPG anyway.
Bleed and safe area
Consumer photo prints have a small margin of mechanical drift. Anything important — a face, a caption, the date stamp — should sit at least 4 mm in from the edge. FLASHFRAME's print export already builds in a small safe area around each frame, but if you add a caption in a separate editor, keep it well inside the visible image.
Most labs offer two finishes: borderless or with a white border. Borderless looks more like a classic photo strip. With-border looks more like a Polaroid card. Either works; just be consistent across a set so they look like a series and not a mixed batch.
Paper choice
At 10×15 cm you usually have three options at a drugstore lab:
- Glossy. Highest contrast, deepest blacks, most colour pop. Fingerprints show. Best for high-key photos and bright filters.
- Lustre or satin. Slight texture, lower glare, hides fingerprints. Best all-rounder for film-style filters.
- Matte. No glare at all, softer contrast. Best for moody, black-and-white, or grainy filters; can look flat with very vivid filters.
If in doubt, order the same strip on lustre and glossy from the same lab in the same batch and compare in daylight. The difference is subtle on screen and obvious in the hand.
Home printer tips
If you are printing at home on an inkjet, set the paper type in the driver to the actual paper you loaded — not just "Photo Paper". The inks dry differently on different coatings, and the wrong setting can leave a damp, smudgy print. Use the "best" or "photo" quality setting; "draft" will produce visible banding on skin tones.
Let the print dry for a couple of minutes before stacking. Photo paper looks dry on the surface long before the ink has fully cured, and stacking too early transfers ink from one print onto the back of the next.
On a dye-sub printer (the kind at event photobooths), 10×15 is the native size and there is very little to configure — the file simply needs to be in the right orientation and aspect ratio. Dye-sub prints are dry the instant they leave the machine.
Ordering at a lab
Whether you use a kiosk in a supermarket or a web-based lab, the workflow is the same: upload the 10×15 JPG, pick "10×15 / 4×6" as the size, choose a finish, and order. Do not let the kiosk apply auto-enhance — it will fight your filter and try to "correct" the very colour shift that makes a film look work. Look for an option called "no correction", "as-is", or "do not adjust".
Kiosks in particular tend to enable auto-crop, auto-brightness, and auto-red-eye by default. Turn all three off. Auto-crop is the most damaging: it will centre-crop the strip and typically cut the first and last frame in half.
A repeatable print workflow
- Shoot the strip in the photobooth.
- Open the Print Lab and pick 10×15 cm portrait (or landscape).
- Export at quality 90+ JPG, sRGB.
- Upload to your lab, choose lustre or glossy, disable auto-enhance.
- Pick borderless or with-border to match the look you want.
FAQ
Is 10×15 cm the same as 4×6 inches? Yes, close enough for print. The exact conversion is 10.16×15.24 cm, and lab paper is cut to 10.2×15.2 cm. The 300 DPI target is the same.
Will my strip fit two per sheet? A single-column four-frame strip is narrow enough that some labs let you place two side by side on a 10×15 sheet. The safer route is to compose the double-strip in the Print Lab before uploading, so the lab treats it as one image and does not re-crop.
Why does my print look darker than my screen? Screens emit light; paper reflects it. Prints almost always look one stop darker than a screen preview. If you consistently want brighter prints, brighten the export by roughly 10% before sending it.
Can I print a strip on A4 or letter paper? You can, but you lose the photobooth feel — the strip ends up floating in a big white margin. If you want a bigger print, use A5 or 13×18 cm paper and re-export at the matching pixel size.
Further reading
- International Color Consortium — sRGB is the default profile assumed by consumer print labs; their reference documents explain why other profiles shift on print.
- Fujifilm and Kodak both publish DPI and colour-space guidelines for their instant and dye-sub print papers, worth checking if you use a specific lab regularly.
Done a few times, this becomes a thirty-second pipeline from a captured strip to a stack of physical photos. That is the part the original photobooths got right — and the part most digital tools have quietly forgotten.